The HBC Tech iOS team is officially rolling out support for “rich notifications” in the coming days. By “rich notifications”, I mean the ability to include media (images/gifs/video/audio) with push notifications. Apple announced rich notifications as a part of iOS 10 at WWDC last year (2016). For a mobile first e-commerce company with high quality images, adding media to push notifications is an exciting way to continue to engage our users.
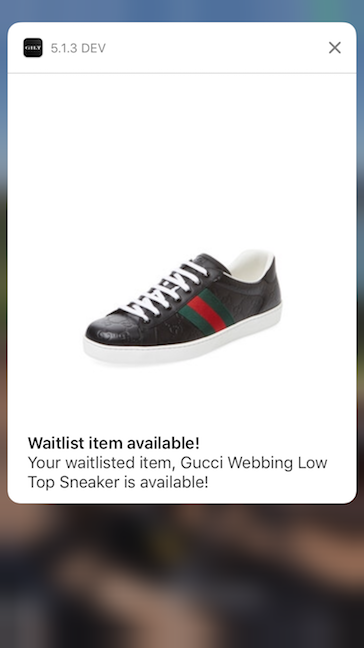
This post details four helpful advanced tips I wish I had when I started building a Notification Service Extension(NSE) for the iOS app. Although all of this information is available through different blog posts and Apple documentation, I am putting it all in one place in the context of building a NSE in the hopes that it saves someone the time I spent hunting and testing this niche feature. Specifically, I will go over things I learned after the point where I was actually seeing modified push notifications on a real device (even something as simple as appending MODIFIED to the notification title).
If you’ve stumbled upon this post, you’re most likely about to start building a NSE or started already and have hit an unexpected roadblock. If you have not already created the shell of your extension, I recommend reading the official Apple documentation and some other helpful blog posts found here and here. These posts give a great overview of how to get started receiving and displaying push notifications with media.
Tip 0: Sending notifications
When working with NSEs it is extremely helpful to have a reliable way of sending yourself push notifications. Whether you use a third party push platform or a home grown platform, validate that you can send yourself test notifications before going any further. Additionally, validate that you have the ability to send modified push payloads.
Tip 1: Debugging
Being able to debug your code while you work is paramount. If you’ve ever built an app extension this tip may be old hat to you but as a first time extension builder it was a revelation to me! Because a NSE is not actually a part of your app, but an extension, it does not run on the same process id as your application. When you install your app on an iOS device from Xcode, the Xcode debugger and console are only listening to the process id of your application. This means any print statements and break points you set in the NSE won’t show up in the Xcode console and won’t pause the execution of your NSE.

You actually can see all of your print statements in the mac Console app but the Console also includes every print/log statement of every process running on your iOS device and filtering these events is more pain than its worth.

Fortunately, there is another way. You can actually have Xcode listen to any of the processes running on your phone including low level processes like wifid, Xcode just happens to default to your application.
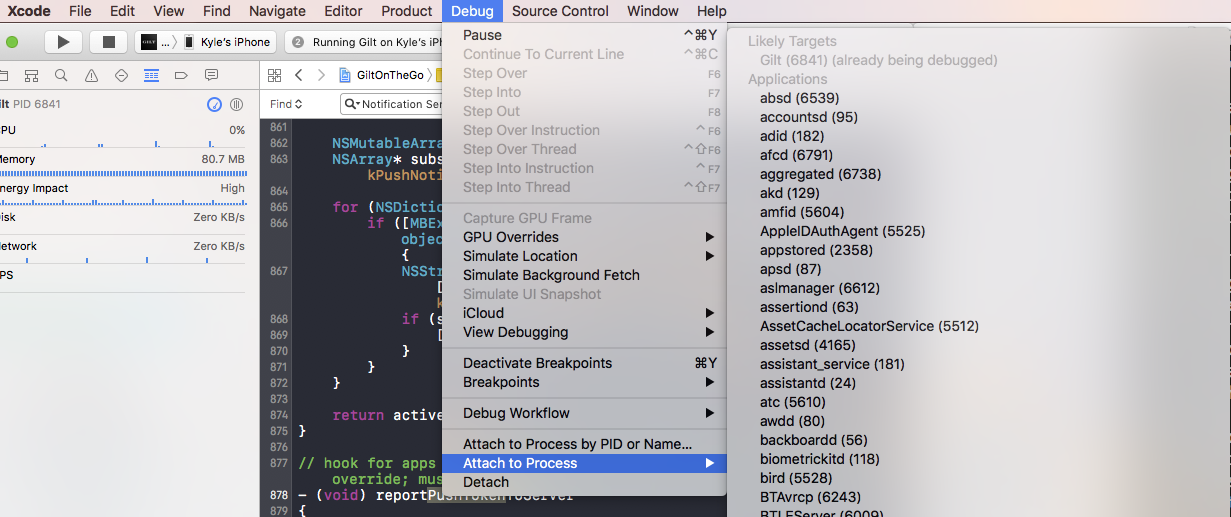
To attach to the NSE, you first need to send your device a notification to start up the NSE. Once you receive the notification, in Xcode go to the “Debug” tab, scroll down to “Attach to Process” and look to see if your NSE is listed under “Likely Targets”.
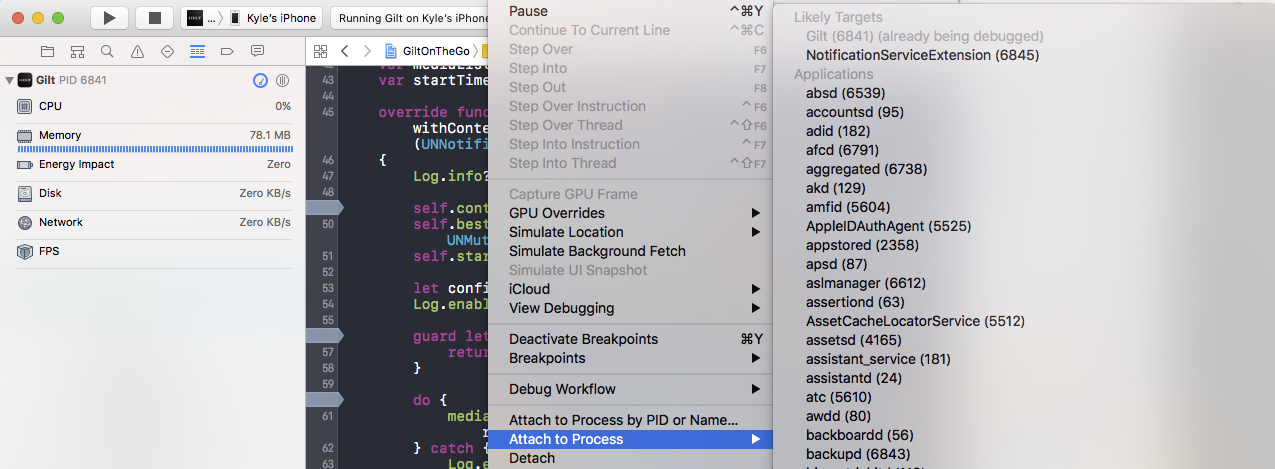
If you don’t see it, try sending another notification to your device. If you do, attach to it! If you successfully attached to your NSE process you should see it grayed out when yo go back to Debug > Attach to Process.
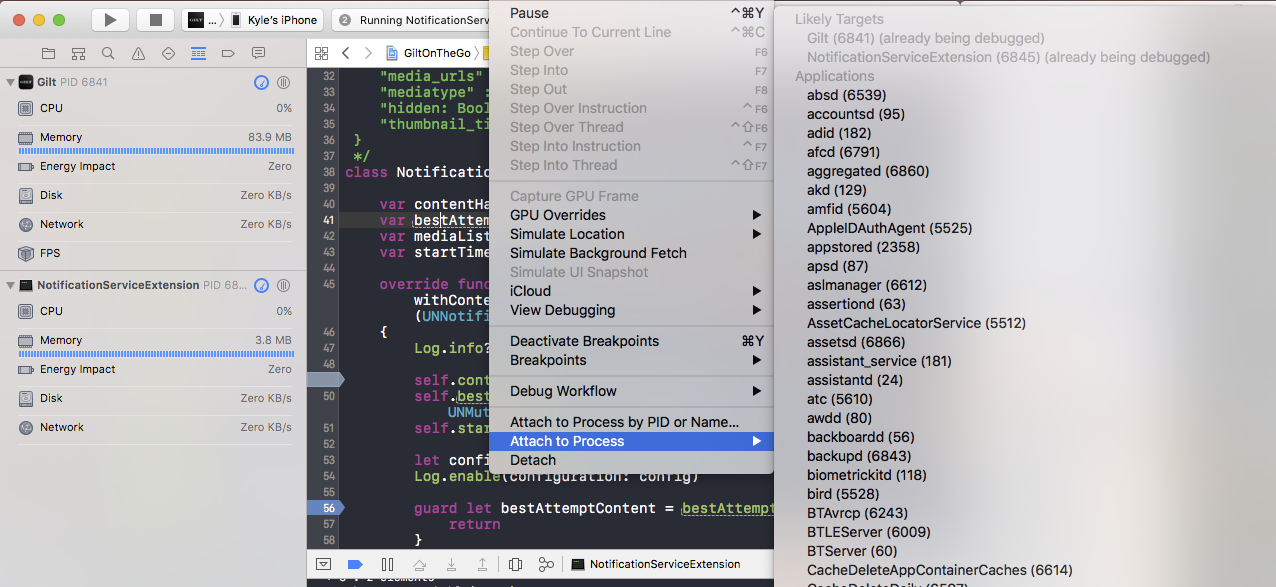
You should also be able to select the NSE from the Xcode debug area.

To validate both the debugger and print statements are working add a breakpoint and a print statement to your NSE. Note: Everytime you rebuild the app, you will unfortunately have to repeat the process of sending yourself a notification before attaching to the NSE process.
Amazing! Your NSE development experience will now be 10x faster than my own. I spent two days appending “print statements” to the body of the actual notification before I discovered the ability to attach to multiple processes.

Tip 2: Sharing data between your application and NSE
Although your NSE is bundled with your app, it is not part of your app, does not run on the same process id (see above), and does not have the same bundle identifier. Because of this, your application and NSE cannot talk to each other and cannot use the same file system. If you have any information you would like to share between the app and the NSE, you will need to add them both to an App Group. For the specifics of adding an app group check out Apple’s Sharing Data with Your Containing App.
This came up in HBC Tech’s NSE because we wanted to have the ability to get logs from the NSE and include them with the rest of the app. For background, the HBC Tech’s iOS team uses our own open sourced logging library, CleanroomLogger. The library writes log files in the app’s allocated file system. To collect the log files from the NSE in the application, we needed to save the log files from the NSE to the shared app group.
Another feature you get once you set up the App Group is the ability to share information using the app group’s NSUserDefaults. We aren’t using this feature right now, but might in the future.
Tip 3: Using frameworks in your NSE
If you haven’t already realized, rich notifications don’t send actual media but just links to media which your NSE will download. If you’re a bolder person than me, you might decide to forgo the use of an HTTP framework in your extension and re-implement any functions/classes you need. For the rest of us, its a good idea to include additional frameworks in your NSE. In the simplest case, adding a framework to a NSE is the same as including a framework in another framework or your container app. Unfortunately, not all frameworks can be used in an extension.
To use a framework in your application, the framework must check the “App Extensions” box.
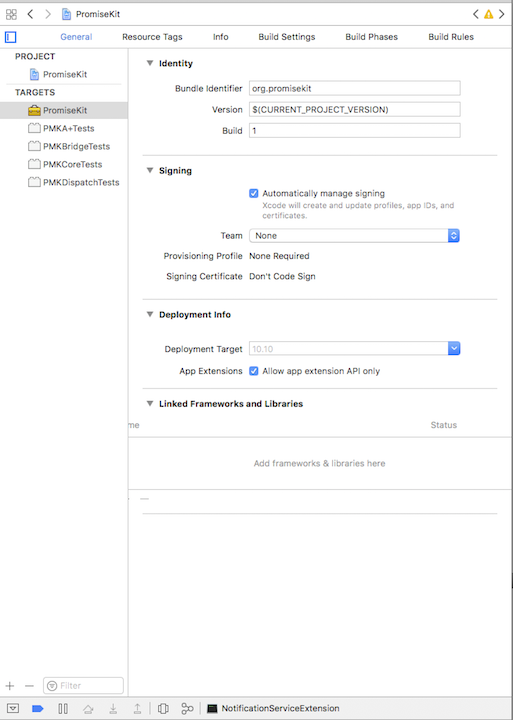
Most popular open source frameworks are already set up to work with extensions but its something you should look out for. The iOS app has one internal framework which we weren’t able to use in extensions and I had to re-implement a few functions in the NSE. If you come across a framework that you think should work in an extension, but doesn’t, check out Apple’s Using an Embedded Framework to Share Code.
Tip 4: Display different media for thumbnail and expanded view
When the rich notification comes up on the device, users see a small thumbnail image beside the notification title and message.
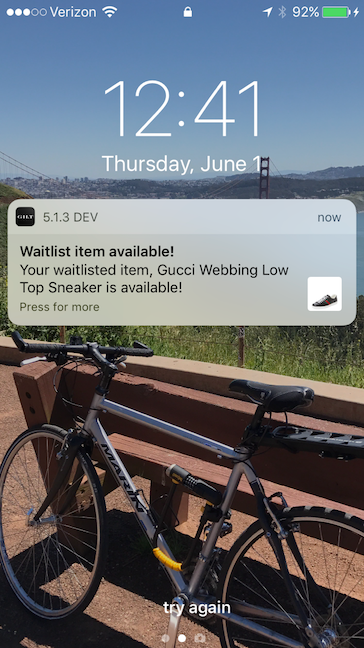
And when the user expands the notification, iOS shows a larger image.

In the simple case (example above), you might just have a single image to use as the thumbnail and the large image. In this case setting a single attachment is fine. In the iOS app, we came across a case where we wanted to show a specific square image as the thumbnail and a specific rectangular image when the notification is expanded. This is possible because UNMutableNotificationContent allows you to set a list of UNNotificationAttachment. Although this is not a documented feature it is possible.
var bestAttemptContent = request.content.mutableCopy() as? UNMutableNotificationContent
let expandedAttachment = UNNotificationAttachment(url: expandedURL, options: [UNNotificationAttachmentOptionsThumbnailHiddenKey : true])
let thumbnailAttachment = UNNotificationAttachment(url: thumbnailURL, options: [UNNotificationAttachmentOptionsThumbnailHiddenKey : false])
bestAttemptContent.attachments = [expandedAttachment, thumbnailAttachment]
This code snippet sets two attachments on the notification. This may be confusing because, currently, iOS only allows and app to show one attachment. If we can only show one attachment, then why set two attachments on the notification? I am setting two attachments because I want to show different images in the collapsed and expanded notification views. The first attchment in the array, expandedAttachment, is hidden in the collapsed view (UNNotificationAttachmentOptionsThumbnailHiddenKey : true). The second attachment, thumbnailAttachment, is not. In the collapsed view, iOS will select the first attachment where UNNotificationAttachmentOptionsThumbnailHiddenKey is false. But when the nofication is expanded, the first attachment in the array, in this case expandedAttachment, is displayed. If that is confusing see the example images below. Notice, this is not one rectangular image cropped for the thumbnail.
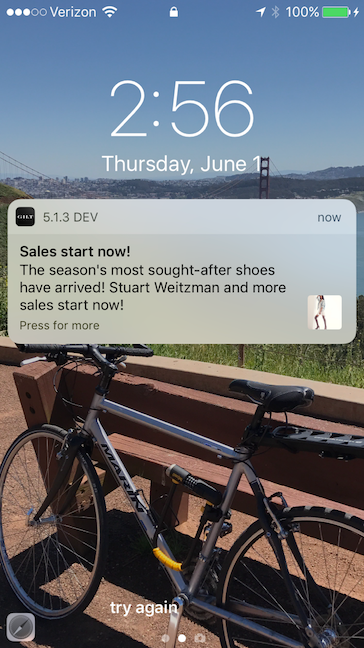
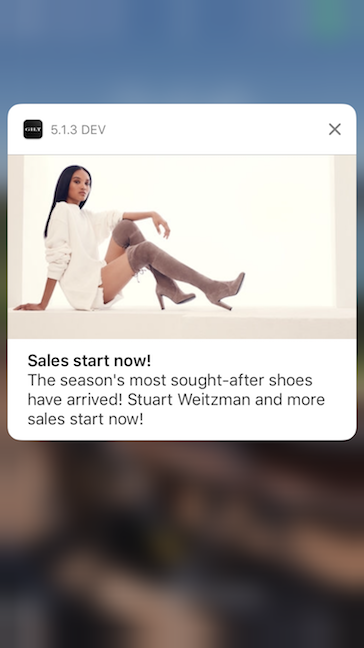
Note: There is a way to specify a clipping rectangle using the UNNotificationAttachmentOptionsThumbnailClippingRectKey option, but our backend system doesn’t include cropping rectangle information and we do have multiple approprite crops of product/sale images available.
Conclusion
Thats it! I hope this post was helpful and you will now fly through building a Notification Service Extension for your app. If there is anything you think I missed and should add to the blog please let us know, techevangelism@hbc.com.
