When HBC’s Mobile team worked at 1 Madison Avenue, my morning coffee ritual involved getting a large black iced coffee from myWayCup as I exited the 6 train at 23rd Street. What they served at myWayCup—a private-label version of Intelligentsia Coffee’s House Blend—was so good that I switched to iced coffee year-round—even through brutal New York winters—a trait that often earned me quizzical looks when ordering my preferred drink during a snowstorm.
 About a year later when the Mobile team moved back to the 2 Park Avenue office, I searched the neighborhood for iced coffee I liked as much, but came up empty. The cold brews I tried tended to be syrupy and super-concentrated, while the ones made with a hot brew process had all the subtlety scorched out of the beans, leaving a jagged, edgy texture. And too often, stores didn’t turn over iced coffee frequently enough in the winter, so you’d end up with something that had become stale after days of storage.
Without a local favorite, I started experimenting with making my own iced coffee. At times, there were catastrophic failures. At least two glass carafes gave their lives in pursuit of coffee perfection, and an otherwise white wall at the office somehow acquired a coffee streak arcing towards the floor. I even managed to melt one of my coffee grinders on top of a stove I didn’t realize was still hot.
Despite these embarrassing setbacks, the technique continued to evolve and improve, and I eventually switched from the laborious process of rapid cooling a hot brew to the simpler—but far lengthier—process of an overnight cold brew. True, there’s no instant gratification: my coffee intake now requires preparing a day in advance, but the result is a well-balanced brew. It’s not the thick, need-to-dilute-it-with-water cold brew that used to get delivered to our office in metal kegs. (A co-worker once posted notices warning of the jitters that ensue when forgetting to water it down.) Nor does it have the unrefined taste of beans that have had great violence done to them by exposure to extreme heat followed by cooling.
 To me, this technique yields the perfect iced coffee.
What I use to brew:
-
Intelligentsia House Blend beans: Delicious coffee, full-bodied but not over-roasted or overly bitter. Using beans as opposed to pre-ground coffee ensures maximum freshness when you brew. Ground coffee oxidizes quickly and will soon taste stale if not used right away. (I signed up for Intelligentsia’s mail order subscription service so I’m never out of fresh beans.)
-
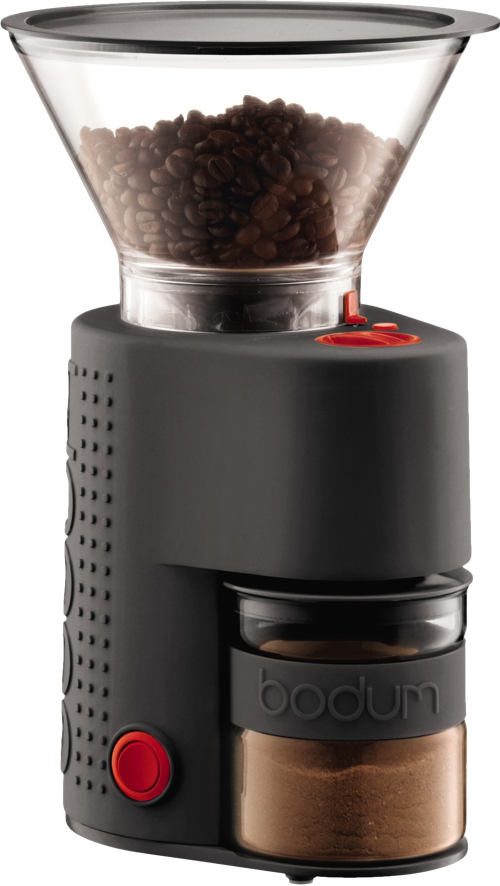
A Bodum Bistro Electric Burr Grinder: This is a conical burr grinder, which means the grounds come out a consistent granularity. Most home coffee grinders are blade grinders that deliver grounds of varying size. In a French press, the finer grounds will not be caught by the filter; those grounds will end up on your tongue like silt, which will not make for pleasant drinking. If you’re a coffee enthusiast, you should seriously consider a conical burr grinder.
-
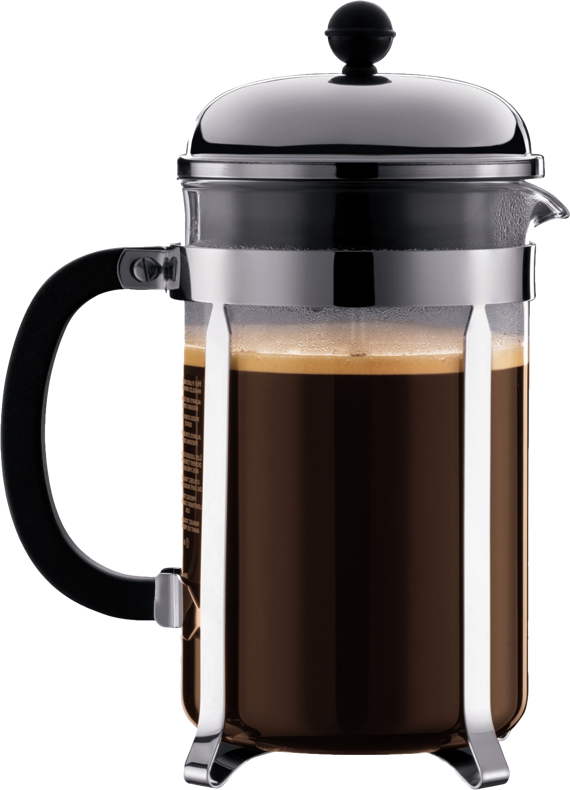
A 51oz (1.5 liter) Bodum Chambord French Press. This size yields about 2-3 days of coffee at my rate of consumption, which is ideal; beyond 3 days, the coffee would begin tasting stale anyway.
-
A pitcher of NYC tap water filtered through a Brita.
 I start the brewing process in the morning, and I keep the French press on the counter until nighttime so I can stir periodically when I get the chance. Then, when I go to bed, I put the carafe in the fridge so it’s cold and ready to drink when I get up in the morning.
The brewing steps I follow:
-
Set the grinder’s coarseness one notch to the left of the French Press icon on the dial.
-
Set the grinder to grind for 15 seconds.
-
Fill the hopper with beans.
-
Press the grind button and remain calm.
-
Take the fresh grounds out of the grinder—be sure to stop and smell the coffee!—and dump them in the glass carafe of the French press. Return any beans remaining in the hopper to an airtight container.
-
Fill the carafe nearly to the top with cold water. Filtered tap water or bottled water is recommended, depending on the desirability of the water coming out of your faucet. (Remember, good beans + bad water = bad coffee.)
-
Mix the water and grounds together by stirring for 10 seconds.
-
Cover the top of the carafe with cellophane wrap or aluminum foil to avoid excess exposure to air.
-
Leave out at room temperature for 16 hours, stirring periodically for 10 seconds if possible. (I usually end up stirring about 5 times or so for the typical batch.)
-
Put in fridge for the final 8 hours.
-
Remove from fridge and stir for 10 seconds.
-
Press the grounds and serve the coffee.
-
Store what remains in an airtight glass container, and drink within 3 days.
Overall, it’s a 24-hour process, although there are some tricks you can use to cut down on brew time. More frequent, vigorous and longer stirring will help shorten the process, as will repeated pressing at the end. (Pressing the grounds, removing the press, stirring the grounds, and pressing again.) You can adjust according to your equipment, beans and personal taste, but in my experience you need at least 16 hours of brew time to let the flavors fully form.
Hope you enjoy it as much as I do!